
The Ultimate I 9 Passport Example for Stress-Free Onboarding
Why Every HR Manager Needs a Clear I 9 Passport Example
The most common I-9 passport example question HR teams ask is simple: what exactly do I write in Section 2 when an employee hands me their U.S. passport?
Here’s the quick answer:
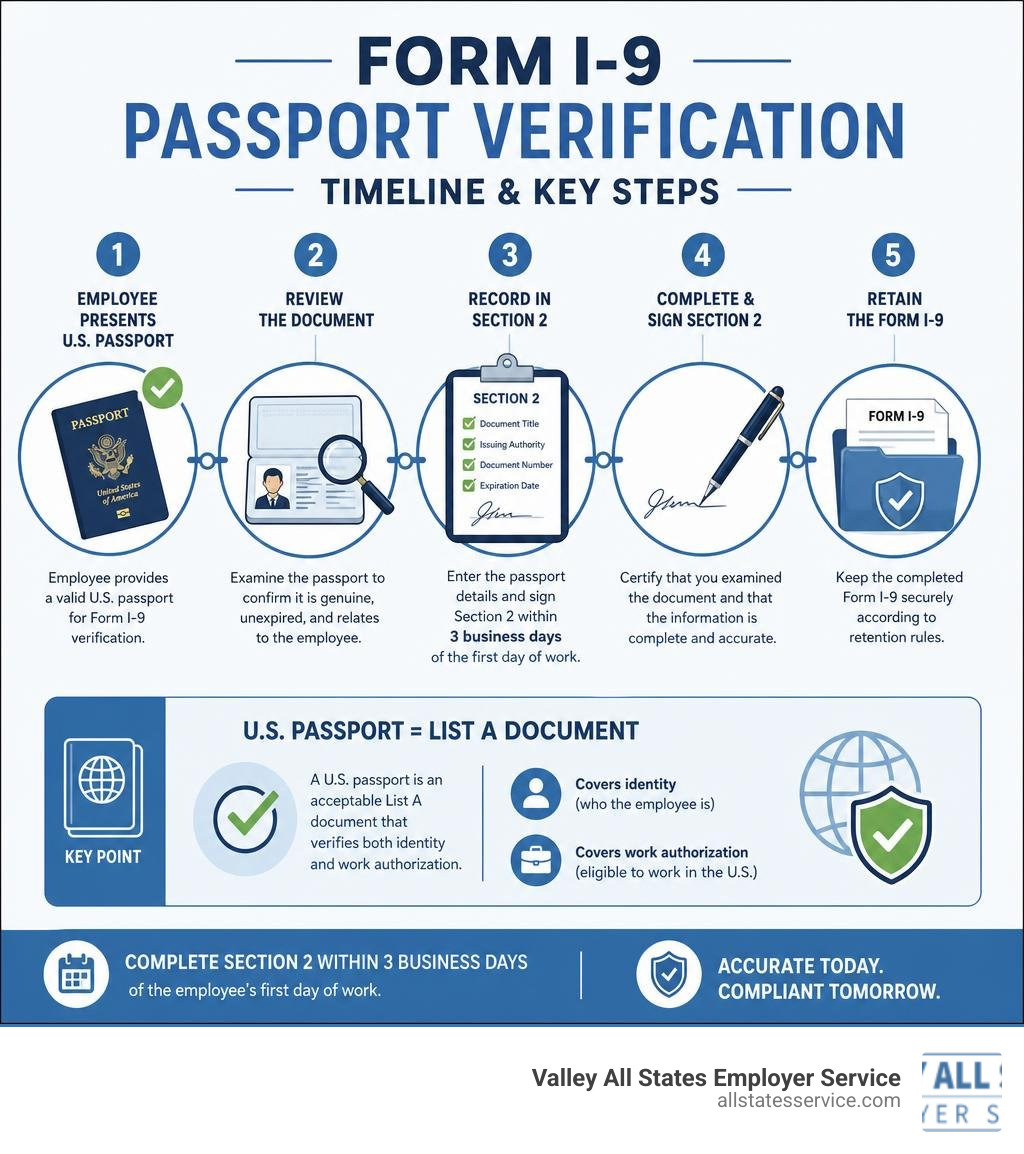
When a new hire presents a U.S. passport, record the following in Section 2 of Form I-9:
- Document Title: U.S. Passport
- Issuing Authority: U.S. Department of State
- Document Number: The passport number printed on the photo page
- Expiration Date: The expiration date shown on the passport
- Complete and sign Section 2 within three business days of the employee’s first day of work
That’s the core of it. A U.S. passport is a List A document, meaning it covers both identity and work authorization in one. No other documents are needed.
But getting the details right matters. A small error in Section 2 can turn into a compliance headache during an audit. And with ICE enforcement activity at record levels in 2026, HR managers can’t afford sloppy I-9 paperwork.
This guide walks you through the entire process, from what the passport fields mean to how expiration dates affect your reverification obligations.
Simple i 9 passport example word guide:
Understanding the U.S. Passport as a List A Document
To understand why the U.S. passport is so popular during onboarding, we need to look at how the government structures its acceptable documents. Form I-9 requires employees to prove two things: who they are (identity) and that they are legally allowed to work in the United States (employment authorization).
The federal government groups acceptable documents into three categories: List A, List B, and List C. You can find the official list of these documents on the Form I-9 Acceptable Documents – USCIS page.
- List A: Documents that establish both identity and employment authorization.
- List B: Documents that establish identity only (such as a state-issued driver’s license).
- List C: Documents that establish employment authorization only (such as an unrestricted Social Security card).
When an employee provides a document from List A, they do not need to provide anything from List B or List C. The single List A document satisfies all federal requirements.
| Document List | What It Establishes | Examples |
|---|---|---|
| List A | Both Identity and Work Authorization | U.S. Passport, Passport Card, Permanent Resident Card |
| List B | Identity Only | Driver’s License, State ID Card, School ID with Photo |
| List C | Work Authorization Only | Unrestricted Social Security Card, Birth Certificate |
This simple breakdown highlights why having a clear i 9 passport example is so valuable. It represents the cleanest, fastest path to completing the verification process. For more details on these lists, you can read our guide on acceptable I-9 documents.
Why the U.S. Passport is the Ultimate i 9 passport example
The U.S. passport is the gold standard for employment eligibility verification. Because it is issued by the federal government to citizens, it offers absolute proof of both identity and work eligibility.
When you look at cracking the code on List A documents, the passport stands out because it eliminates the need for document combinations. Instead of tracking down a driver’s license and matching it with an unlaminated Social Security card, the employee simply presents their passport.
This convenience applies to both the traditional U.S. passport book and the smaller U.S. passport card. Both are fully acceptable List A documents. By focusing on a single high-security document, you reduce the risk of recording mismatched names or entering invalid document numbers.
Step-by-Step Guide to Documenting an i 9 passport example
Completing Form I-9 with a passport is straightforward, but it requires strict attention to detail. The process is divided into two primary sections that must be completed within specific timeframes. Section 1 must be finished by the employee on or before their first day of work. Section 2 must be completed by the employer within three business days of the employee’s start date.
To ensure you are using the most current paperwork, always download the official Form I-9 PDF directly from the USCIS website.
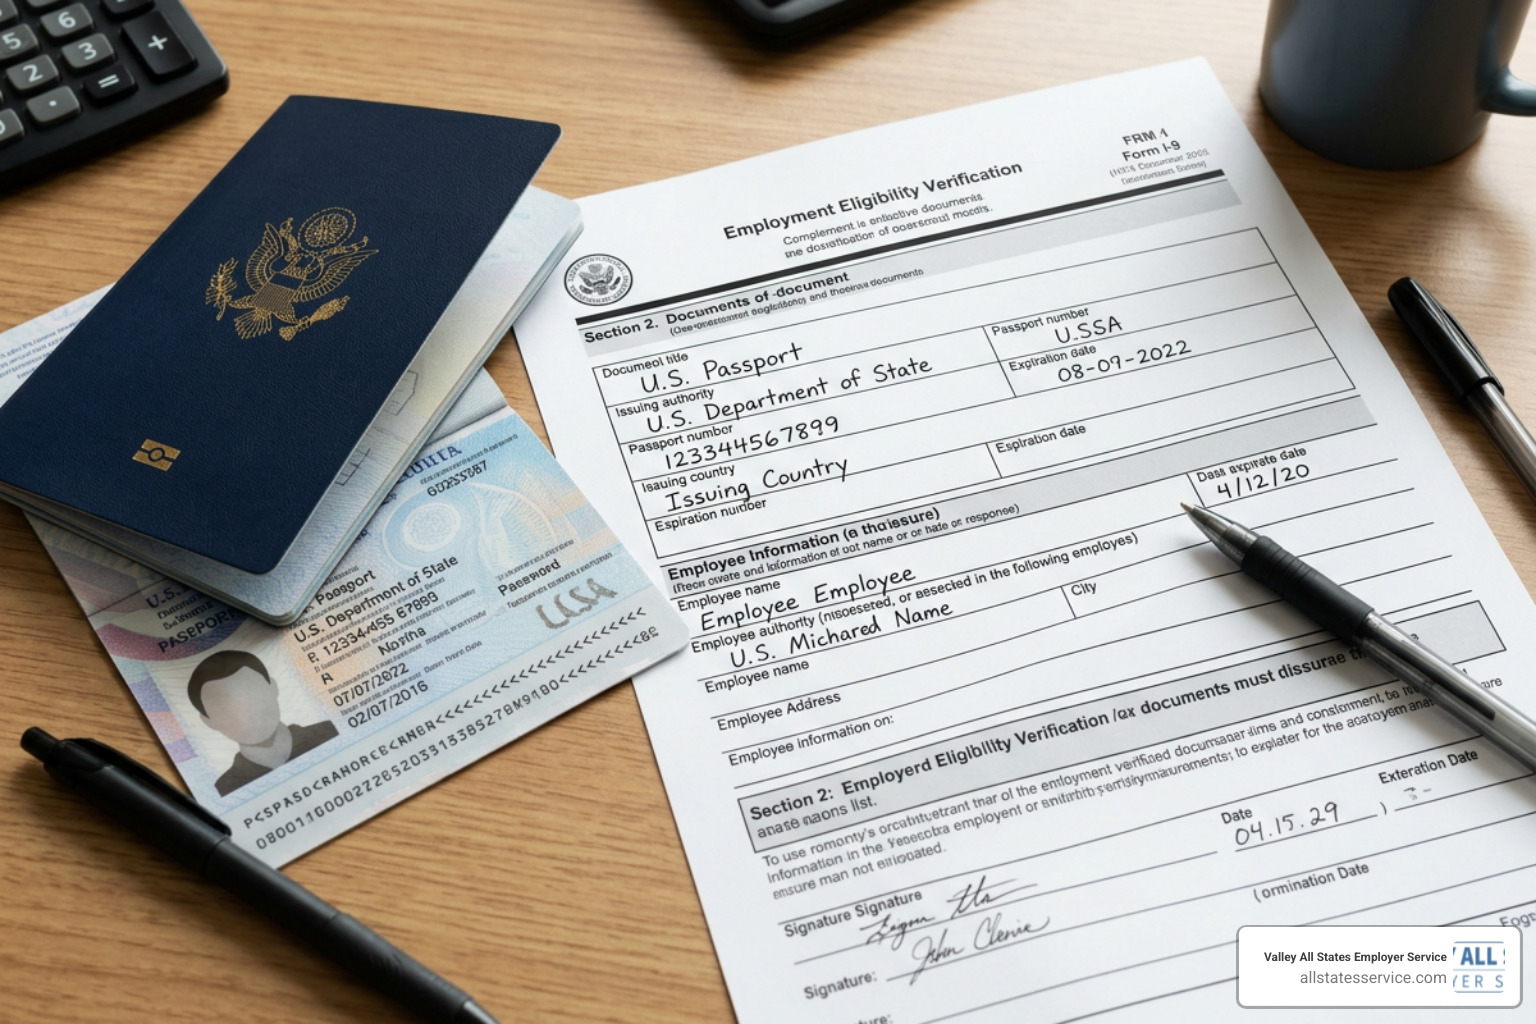
Let’s break down exactly how to handle both sections of the form when a passport is presented.
Section 1 Employee Attestation for an i 9 passport example
Before you can record the passport in Section 2, the employee must complete Section 1. This section is where the employee enters their personal details, including their full name, address, date of birth, and Social Security number.
The most critical part of Section 1 for our passport example is the citizenship attestation. The employee must check one of the four boxes indicating their status in the United States. When using a U.S. passport, the employee must check the first box: “A citizen of the United States.”
If the employee requires assistance completing this section, any preparer or translator who helps them must complete the designated Supplement A block. Working through this section carefully helps you learn how to complete your I-9 employment authorization form like a pro.
Recording Passport Details in Section 2
Once Section 1 is complete, the employer must physically examine the original, unexpired passport. You must look at the document in the presence of the employee to ensure it appears genuine and relates to the person presenting it.
Once you have verified the document, you will record the information under List A in Section 2. Follow this exact format:
- Document Title: Enter “U.S. Passport” or “U.S. Passport Card” depending on which one was presented.
- Issuing Authority: Enter “U.S. Department of State” or “USDOS”. Do not write “USA” or “United States”.
- Document Number: Enter the unique 9-digit passport number found in the top-right corner of the passport photo page.
- Expiration Date: Enter the exact expiration date shown on the passport in the MM/DD/YYYY format.
After recording these details, you must complete the certification block, entering the employee’s first day of employment, your name, title, business name, and business address. For a complete look at this process, check out our step-by-step walkthrough for employers.
Managing Expiration Dates and Reverification Rules
One of the greatest benefits of using a U.S. passport for Form I-9 is how the government treats its expiration date.
While the passport must be unexpired at the moment the employee is hired, you do not need to reverify the employee when the passport expires. Once a U.S. citizen has established their identity and work authorization, that authorization is considered continuous.
This is a major point of confusion for many HR professionals. If an employee’s passport expires three years into their employment with your company, you do not need to fill out Supplement B (formerly Section 3) or ask them to show a new document. The original, completed Form I-9 remains fully compliant.
You can see visual examples of how this is handled in the official Stanford Form I-9 examples. For a deeper understanding of which documents do require ongoing tracking, consult our I-9 Section 2 acceptable documents guide.
Common Mistakes to Avoid with Passport Verification
Even though verifying a passport is simple, minor slip-ups can lead to serious compliance penalties. Here are the most common mistakes employers make:
- Accepting Expired Passports: A U.S. passport must be active and unexpired on the day the employee begins work. You cannot accept a passport that expired even a single day prior to verification.
- Recording Information in the Wrong Columns: Because a passport is a List A document, its details must only be written in the List A column of Section 2. Writing passport details in the List B or List C sections is a major technical error.
- Writing the Wrong Issuing Authority: Many employers write “United States” or “US Government” as the issuing authority. The correct entry is “U.S. Department of State”.
- Misunderstanding the Receipt Rule: If an employee has lost their passport, they may present a receipt showing they applied for a replacement. Under the 90-day rule, this receipt is temporarily acceptable, but the employee must present the actual replacement passport within 90 days. A receipt for a new passport application (rather than a replacement for a lost, stolen, or damaged one) is not acceptable.
To protect your business from audit penalties, it is helpful to review our guide on how to avoid getting denied during the document verification process.
Frequently Asked Questions About Form I-9 Passport Verification
Navigating employment compliance often brings up unique scenarios. Here are answers to some of the most common questions regarding passport verification.
Can I use an expired U.S. passport for Form I-9?
No. For new hires, all documents presented for Form I-9 verification must be unexpired. While an expired passport still proves citizenship, it is not an acceptable document for establishing current identity and work authorization on a new Form I-9.
If an employee only has an expired passport, they must present alternative acceptable I-9 documents, such as a current driver’s license (List B) combined with an unrestricted Social Security card (List C).
Do I need to reverify an employee when their passport expires?
No. U.S. citizens who prove their employment eligibility with a U.S. passport do not require reverification when that passport expires, provided their employment is continuous.
Reverification is generally reserved for non-citizen employees with temporary work authorization. You can learn more about these exceptions in our article covering everything you need to know about acceptable forms.
Can a passport card be used instead of a passport book?
Yes. The U.S. passport card is fully acceptable as a List A document. It is treated exactly the same as a standard passport book.
When entering the passport card details in Section 2, you will list the issuing authority as the “U.S. Department of State” and record the card number. For a visual layout of how this looks on the page, see our perfect I-9 example to save your sanity.
Conclusion
Managing employment eligibility verification does not have to be a stressful process. By mastering the i 9 passport example, you can streamline your onboarding workflow and keep your business fully compliant with federal regulations.
At Valley All States Employer Service, we specialize in helping businesses across Lutherville, Maryland, and the wider United States maintain flawless workforce compliance. Our expert E-Verify processing services are designed to minimize errors, eliminate administrative burdens, and protect your company from costly audit penalties.